Clear Bra Film Application Errors That Can Lead to Paint Damage
Clear Bra film is a popular choice for vehicle paint protection. It's a transparent, durable layer that shields your car's paint from damage.
However, the application process can be tricky. Errors during installation can lead to paint damage, defeating the purpose of the film.
In this guide, we'll explore common Clear Bra film application errors. We'll also discuss how these mistakes can harm your vehicle's paintwork.
By understanding these pitfalls, you can ensure a successful application. This will help maintain your car's aesthetics and protect your investment.
Understanding Clear Bra Film and Its Importance
Clear Bra film, also known as paint protection film (PPF), is a polyurethane film. It is designed to safeguard a vehicle's paint from chips, scratches, and environmental damage. This invisible shield keeps your car looking new and retains its value over time.
Besides protecting against physical damage, Clear Bra film offers significant benefits. It resists UV rays, reducing paint fading, and it is easy to clean, enhancing vehicle maintenance. Proper application is crucial to enjoy these benefits, thus underscoring its importance in maintaining your car's appearance and longevity.
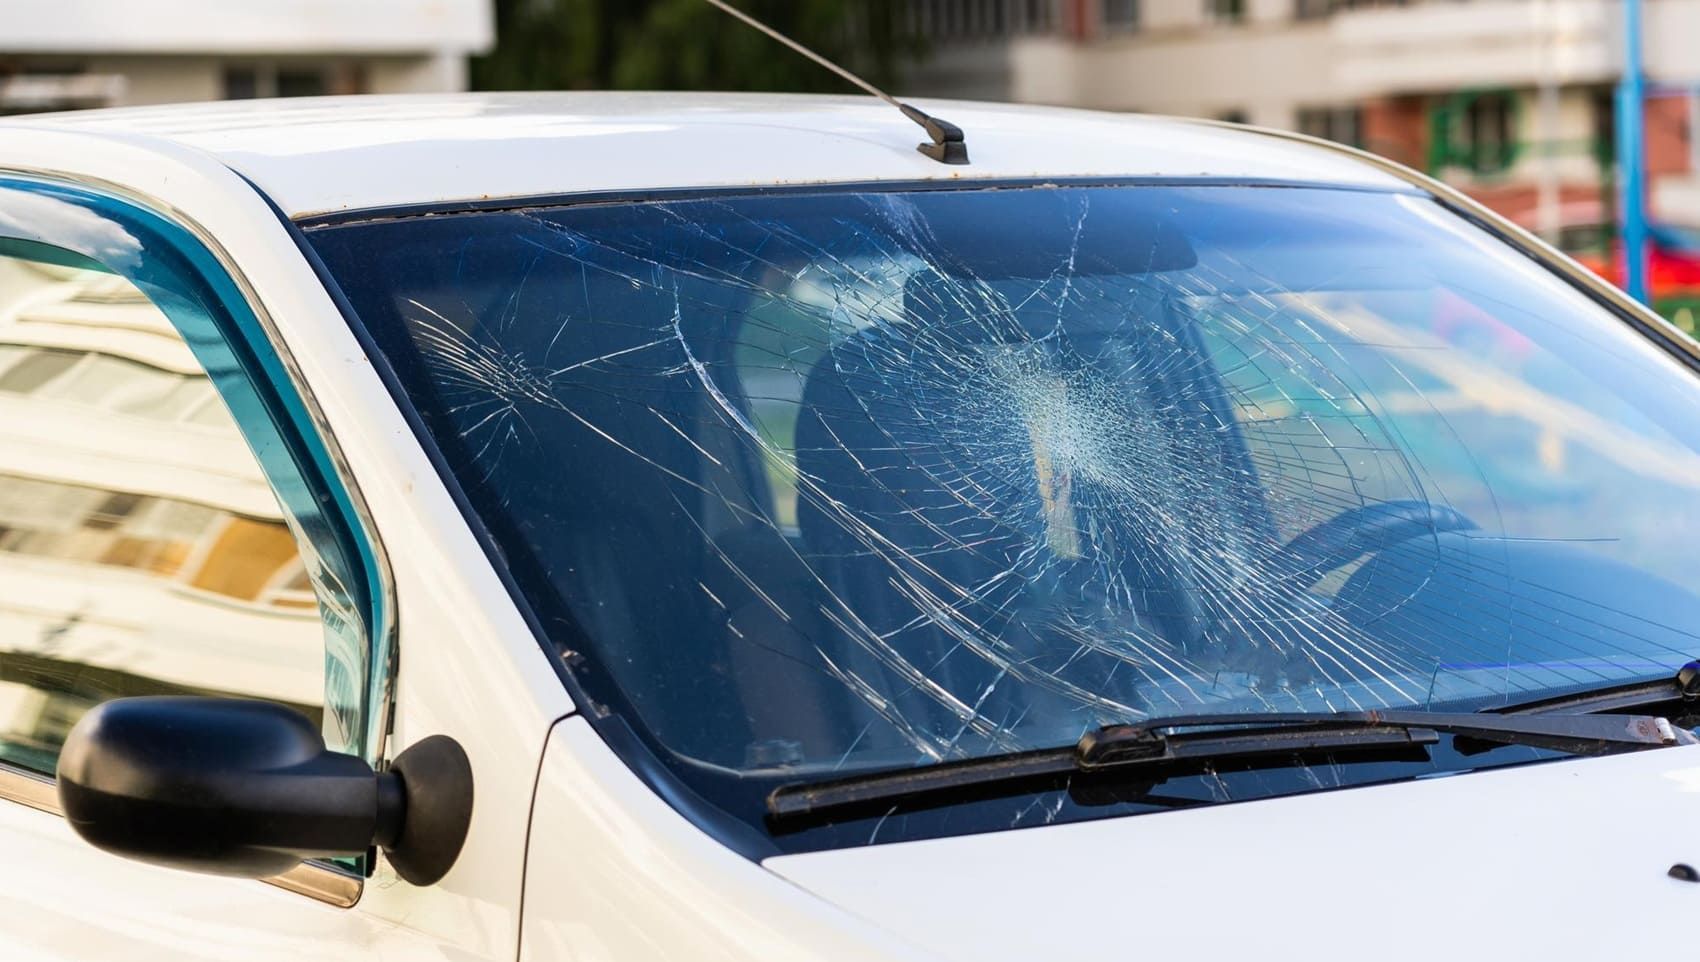
The Consequences of Clear Bra Film Application Errors
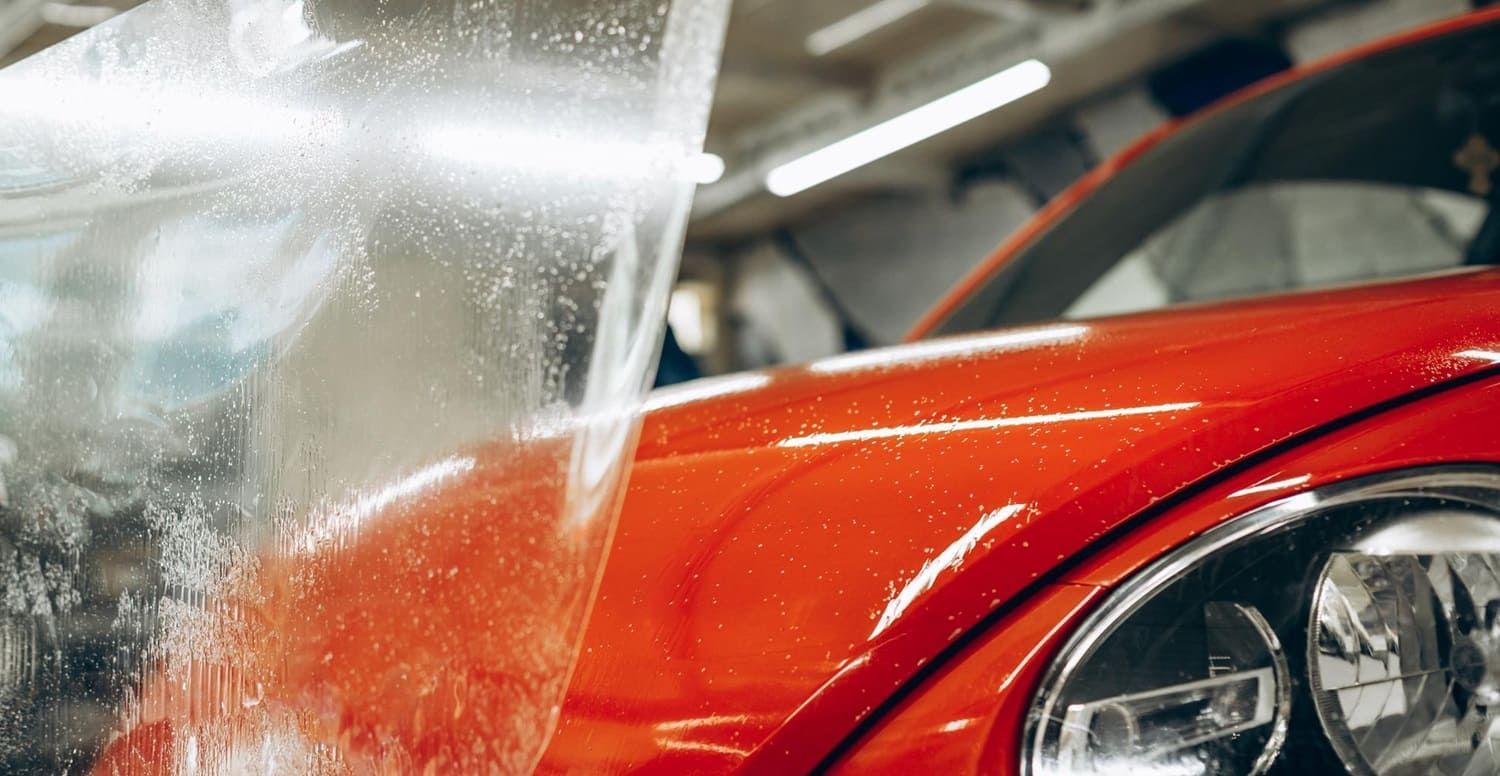
Errors in applying Clear Bra film can severely impact your vehicle's paint. Improper installation may lead to air bubbles, causing film lifting and allowing damage underneath. These mistakes compromise the intended protection, exposing your car to potential harm.
Additionally, incorrect application can result in unsightly wrinkles and misalignments. These flaws not only detract from your vehicle's appearance but also its value. Rectifying these errors can be costly and time-consuming, emphasizing the importance of precision during the installation process. Proper technique ensures durability and aesthetic appeal.
Common Clear Bra Film Application Mistakes
Mistakes during the application of Clear Bra film are more common than many realize. These errors can reduce the film's effectiveness, leading to potential paint damage. Being aware of these pitfalls is crucial for success.
Some frequent application mistakes include:
- Inadequate surface preparation
- Misalignment and stretching issues
- Improper use of tools and techniques
- Environmental factors affecting application
Understanding these mistakes can save time and money. With proper techniques and attention to detail, you can avoid these common pitfalls and protect your vehicle’s finish.
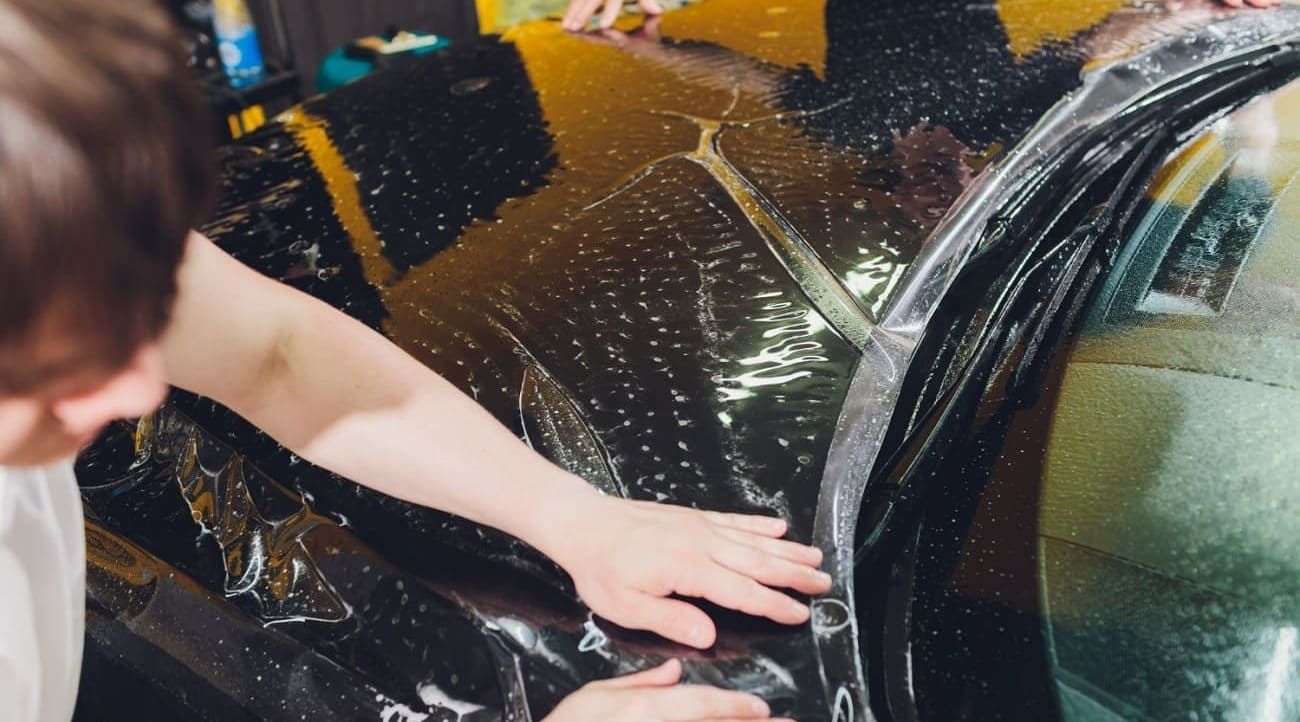
1. Inadequate Surface Preparation
Preparing the vehicle's surface is a critical step in applying Clear Bra film. A dirty surface can trap contaminants under the film, causing bubbling and peeling. To ensure proper adhesion, every nook and cranny must be free of dirt and grime.
Failure to prepare the surface correctly can lead to poor adhesion. This might let moisture and dirt seep under the film, damaging the paint. Thorough cleaning with a gentle, non-abrasive cleaner is essential before starting the application.
Using a clay bar can help remove embedded debris. A clean, smooth surface ensures the film adheres flawlessly, maximizing its protective capabilities.
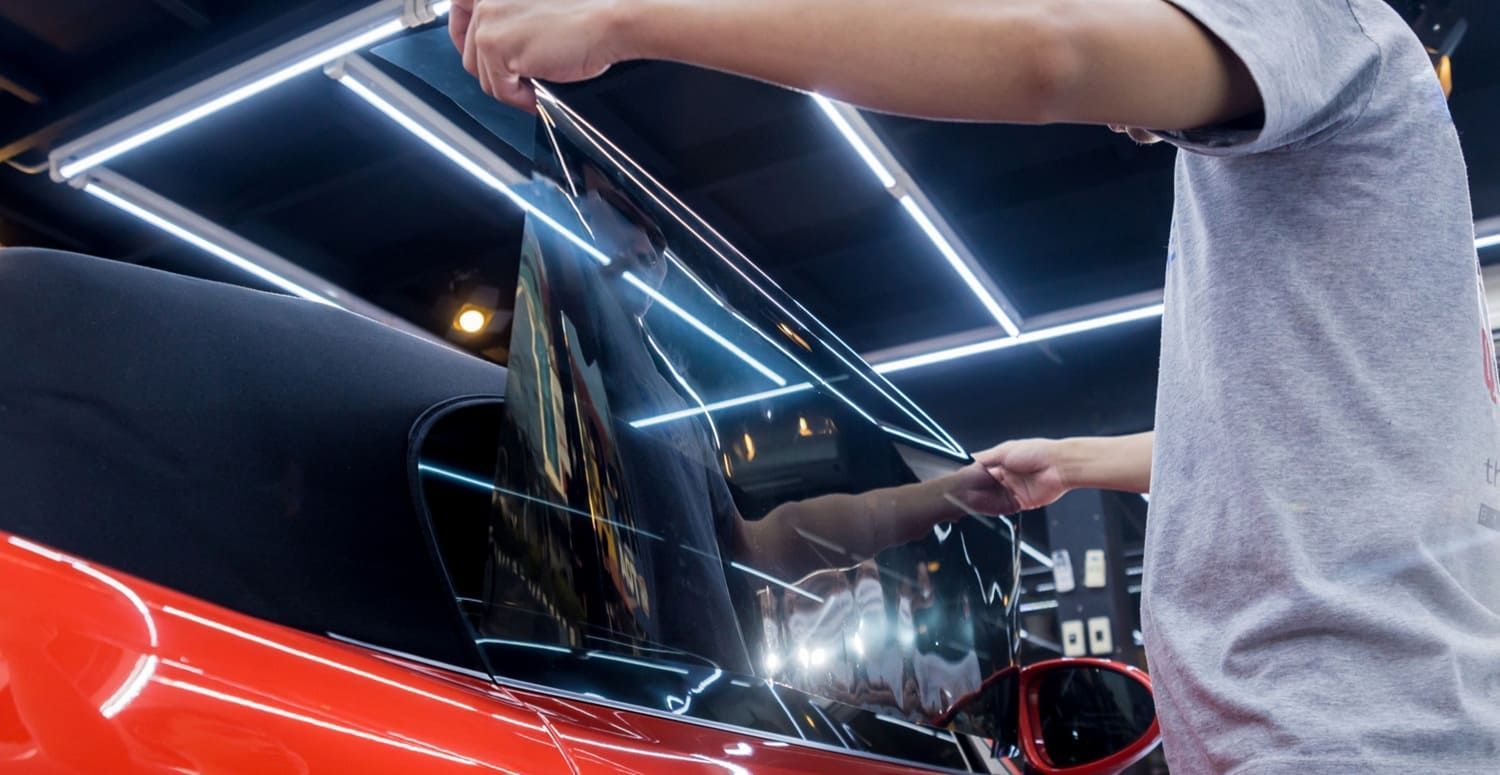
2. Misalignment and Stretching Issues
Proper alignment is key to the Clear Bra film's effectiveness. Misalignment not only affects aesthetics but also compromises protection. Carefully aligning the film ensures comprehensive coverage and optimum performance.
Stretching the film too much can lead to tearing or distortion. Both can cause premature lifting. However, insufficient stretching might result in unsightly wrinkles and gaps, letting debris infiltrate.
To avoid these issues, take time to pre-fit the film carefully. Adjust incrementally, ensuring an even stretch, without tensioning too much. Following these steps helps ensure a neat, robust application.
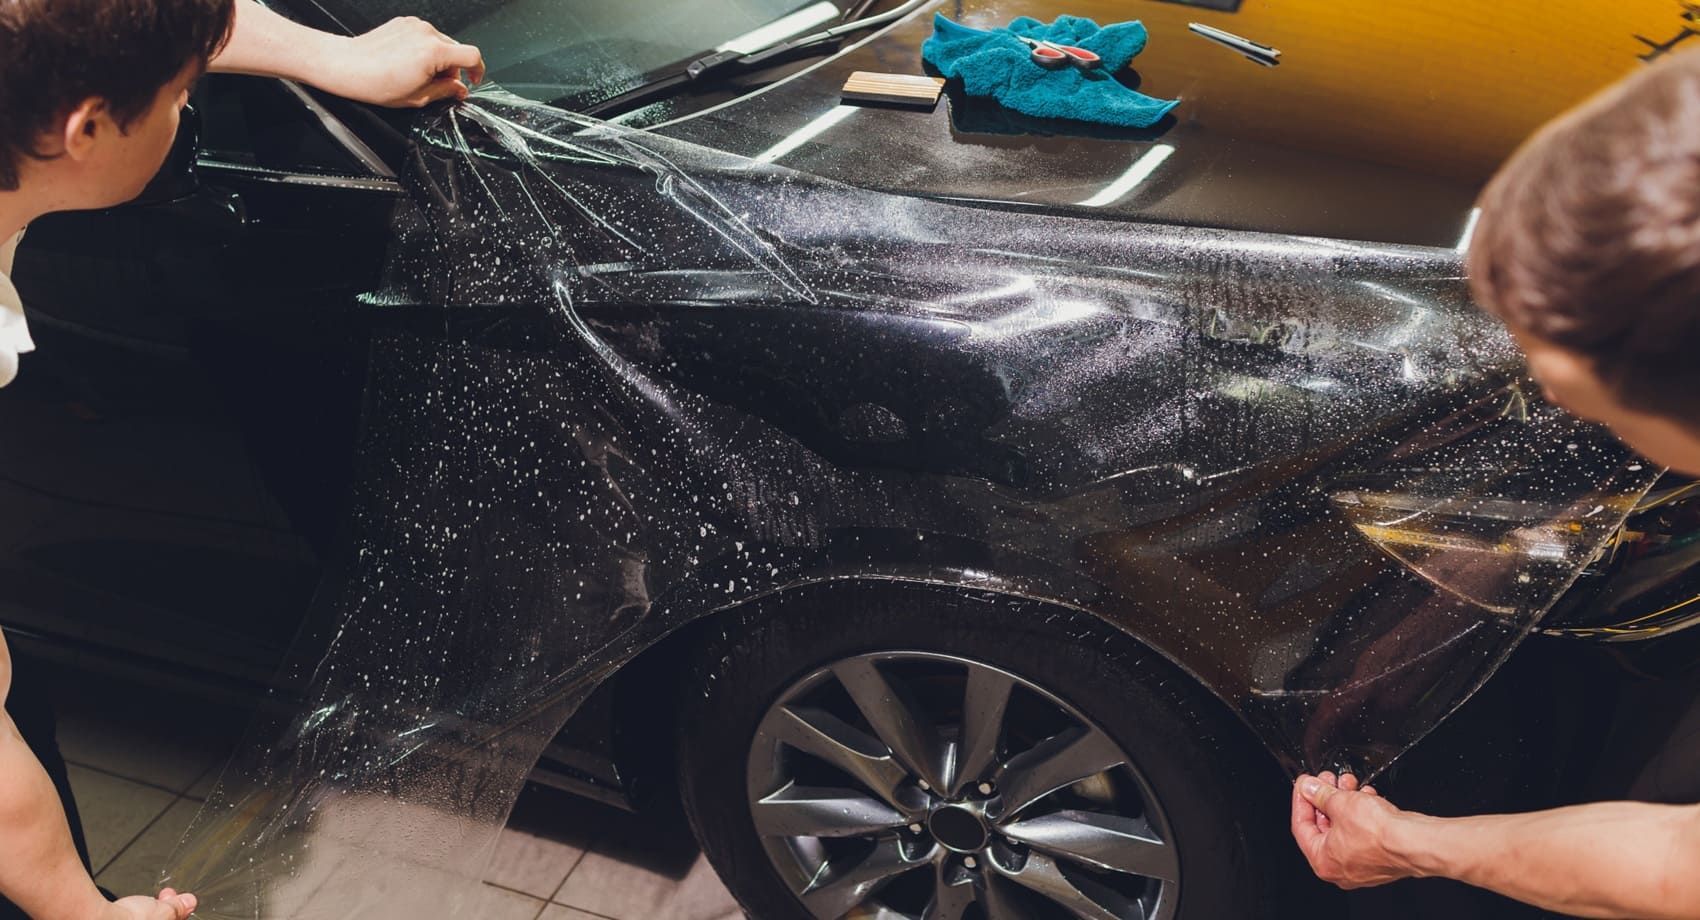
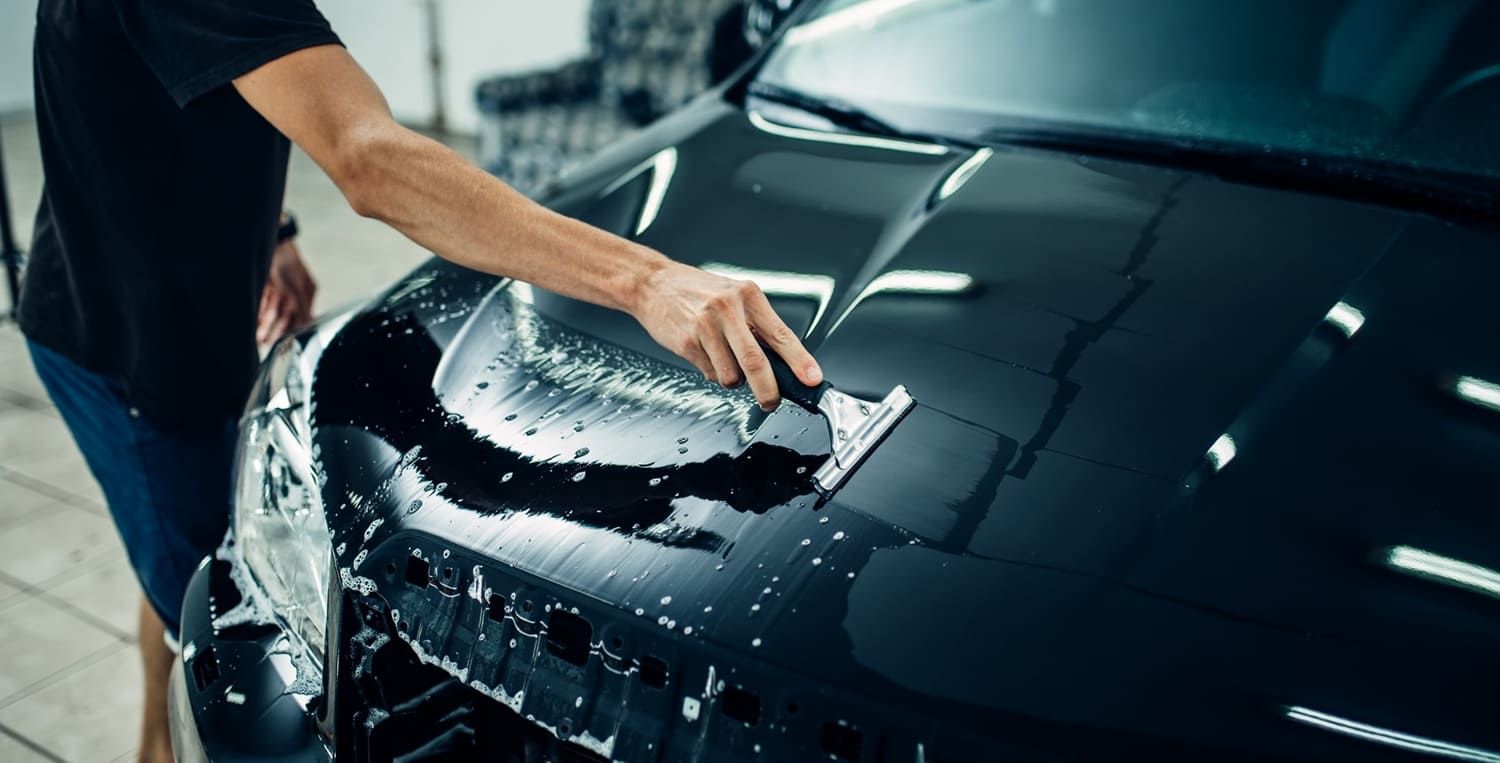
3. Improper Use of Tools and Techniques
Using the right tools and techniques is critical for a smooth Clear Bra film application. Inexperienced users might not use squeegees correctly, leaving air pockets and bubbles. A professional-grade squeegee can help achieve a bubble-free finish.
Poor cutting techniques can result in uneven edges and potential paint scratches. It's crucial to cut precisely without damaging the paint beneath. Practicing on spare pieces of film can perfect cutting skills.
Applying a slip solution can aid in film positioning. Misusing it, however, can lead to improper placement. Ensure the right amount is used for efficient application.
4. Environmental Factors Affecting Application
Environmental conditions play a significant role in the success of Clear Bra film application. Extreme temperatures, too hot or too cold, can hinder adhesion. The adhesive might not bond well, leading to peeling or lifting.
Humidity levels can also affect the application. A humid environment might trap moisture between the film and paint, causing bubbles. Ensuring a dry setting during installation can prevent this issue.
A controlled environment is ideal. Consider working indoors or using climate controls to maintain optimal conditions. Stable environmental conditions are necessary for a secure, lasting film application.
The Impact of Temperature on Clear Bra Film Adhesion
Temperature is a crucial factor in Clear Bra film adhesion. High temperatures can cause the adhesive to become too soft, which might lead to slippage during application. This can create gaps or uneven edges, compromising the film's protective abilities.
Conversely, low temperatures can make the adhesive too firm. This might prevent the film from sticking adequately to the vehicle's surface. It's essential to apply the film at a temperature within the range recommended by the manufacturer to ensure optimal adhesion.
Addressing and Preventing Air Bubbles and Wrinkles
Air bubbles and wrinkles are common issues during Clear Bra film application. These flaws can compromise the film’s aesthetic and protective qualities. To prevent them, use a proper slip solution to allow the film to glide smoothly over the surface.
Employ a professional-grade squeegee technique to ensure the removal of any air pockets. Tackle small bubbles by gently lifting the film and reapplying it. Attention to detail can significantly reduce the risk of these issues occurring.
The Risks of DIY vs. Professional Installation
Installing Clear Bra film may seem simple, but DIY attempts can lead to costly errors. Without proper knowledge, you risk misaligning the film or causing damage to the paint.
Professional installers offer expertise and the right tools for a flawless application. They can ensure proper adhesion and longevity, reducing the likelihood of issues. Consider this investment for peace of mind and optimal results.
Post-Application: Curing, Inspection, and Maintenance
After applying the Clear Bra film, allow it enough time to cure properly. This curing period is crucial for ensuring strong adhesion and seamless protection. Avoid exposure to harsh elements during this time.
Regular inspection after installation can help identify any potential issues early. Look for signs of lifting or peeling, which might indicate improper application or environmental exposure.
Maintaining the film involves gentle cleaning and avoiding aggressive chemicals. Using recommended cleaning products can preserve the film’s clarity and protective qualities. Proper maintenance will prolong the life and effectiveness of the Clear Bra film.
Final Thoughts: Ensuring Longevity and Aesthetics of Clear Bra Film
Proper application is key to maximizing the benefits of Clear Bra film. At Maximum Shade Tinting, an authorized LLumar Clear Bra PPF dealer in Buford, Georgia, we ensure attention to detail during installation to deliver the best results and longevity. By following guidelines and addressing issues promptly, you can maintain both the appearance and protection the film provides. Whether you choose professional installation or DIY, thorough care and proper technique make all the difference. Contact us for a free estimate!